In this lesson you'll learn about the toolbars and menu commands that you'll use to create your ThinkFree Write documents.
A ThinkFree presentation is a collection of slides.
A slide is one-screen display that may contain text, graphics, and images.
A toolbar is a collection of clickable buttons that streamline your use of software features.
A menu bar is a collection of drop-down menus that let you select specific options.
A dialog box is a communication box that "pops up" on the screen, requesting that you type specific information, based on an option you selected.
Balloon Help provides brief help statements in a "balloon." Balloon help is invoked when you place the cursor over certain items on the screen, such as, toolbar buttons.
The topics in this section are:
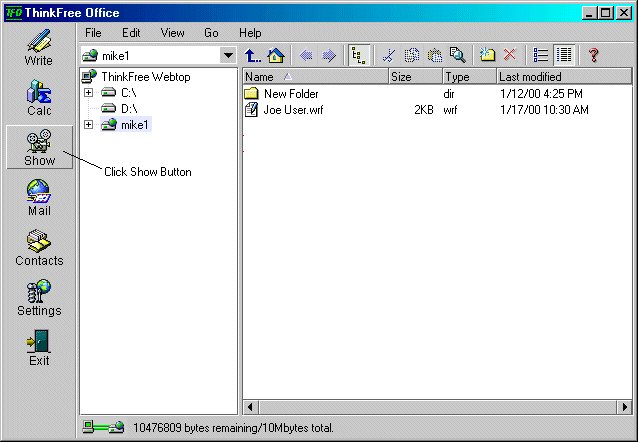
1. On the left-hand side of the TFO window, click Show.
TFO Window
This will load the Show program.
1. Examine the ThinkFree Show window for the following:
2. Notice that a blank slide is displayed.
3. Notice the current file name [noname.shf], at the very top left-hand side.
4. Notice the Menu Bar showing File, Edit, View, Insert, Format, Slide Show, and Help.
5. Click File and notice its "drop-down" menu of options.
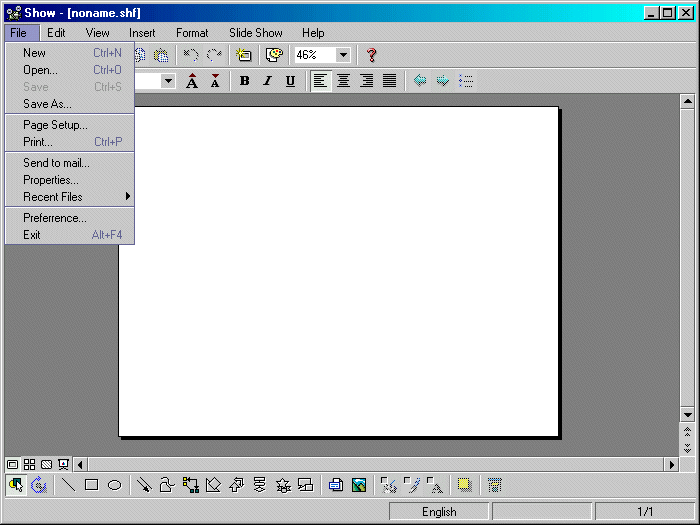
File Dropdown
6. Move the mouse over the other menu bar items and notice their drop-down menus.
7. Next, below the Menu Bar, notice the two rows of Tool Bar buttons with their various icons.
The first row, Standard Tool Bar, deals primarily with general operations like cutting, pasting, undoing/redoing previous operation, etc.
The second row, Format Toolbar, deals primarily with the formatting of text and paragraphs.
8. Place the mouse over any button and notice that bubble help temporarily displays the button's name, indicating the button's function. Notice also that the button's name and description display simultaneously in the Status Bar (bottom left-hand corner of the Show window).
9. Notice, just above the bottom Status Bar, another row of toolbars, called the Drawing Toolbar.
10. Again, move the mouse over the toolbar icons to see the bubble help indicators.
11. Finally, notice just above the Drawing Toolbar, the Slide View Toolbar with four buttons that control what gets displayed in the window: Slide View, Slide Sorter View, Slide Master View, and Slide Show.
12. Move the mouse over the toolbar icons to see the bubble help indicators.
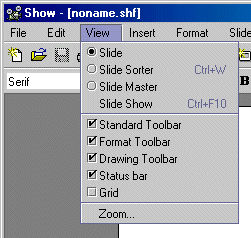
1. Select and hold open the View Menu.
View Menu
2. Notice the check boxes for the toolbars: Standard Tool Bar, Format Toolbar, Drawing Toolbar, and Status Bar.
3. Experiment with checking and unchecking the check boxes and notice where the toolbars display.
If the check mark at the head of the View | Toolbar menu is ON, the toolbar will appear on the Show window; if not, the toolbar will not appear.
4. For purposes of learning ThinkFree Show, check (turn ON) all the toolbars; they will help you streamline your use of Show.
1. Place cursor over any Toolbar button.
Balloon Help will display the button's name indicating its function.
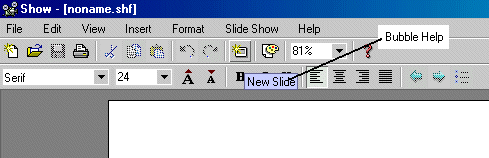 |
Balloon Help
Congratulations on completing this Lesson! To go to the next Lesson, click the bold link below.
Lesson 1: Startup and Tour of Toolbars
Lesson 2: Basic Operations, Inserting Textboxes and Text
Lesson 3: Working with Type Fonts and Textbox Attributes
Lesson 4: Paragraph indentation, alignment, line spacing, and bullets
Lesson 5: Inserting shapes and lines
Lesson 7: Grouping, ungrouping, aligning, overlapping objects
Lesson 8: Creating a Master Slide
Lesson 9: Inserting / deleting slides